


Are you striving to shoot using only natural light? Are you struggling with shooting natural light indoors?Let me start by saying that it is totally possible to utilize ONLY natural light when shooting indoors! What if I told you that 90% of my studio sessions are shot using natural light only?
What if I also told you that I have a few tips that can transform your indoor images immediately? Can you believe that these images were taken only two days a part? Yeah, you read that right. Two days NOT two years!

A little backstory: when I decided to open my studio back in May, I was I adamant about using natural light only. I thought I knew all there was to know about shooting natural light indoors. I was WRONG. I posted the first image in a Facebook group and received constructive criticism. I applied the advice given to me and I must say the images speak for themselves.
These three tips changed my images for the better! Best part? This transformation happened in TWO DAYS.
Tip 1: Turn off All Lights in the Room
The very first thing you have to do before beginning to shoot is turn off ALL lights in the room. Lightbulbs have tungsten lighting in them and give off that awful red and orange glow. It is almost impossible to get rid of the orange and red hues in Lightroom. It will most likely leave you never wanting to work indoors again.
Tip 2: Find A Light Source Like a Door or a Window
Next, find a large enough window or door allowing a substantial amount of natural light to come through. If you are having a hard time with your camera focusing without a flash or the lights on in the room, check to make sure that your ISO is high enough. (If you are unsure what ISO is and what it is in reference to your camera settings, I want you to stop what you’re doing and download my FREE Guide to Manual Mode right here!)

Tip 3: Angle Your Subject at 90 Degrees
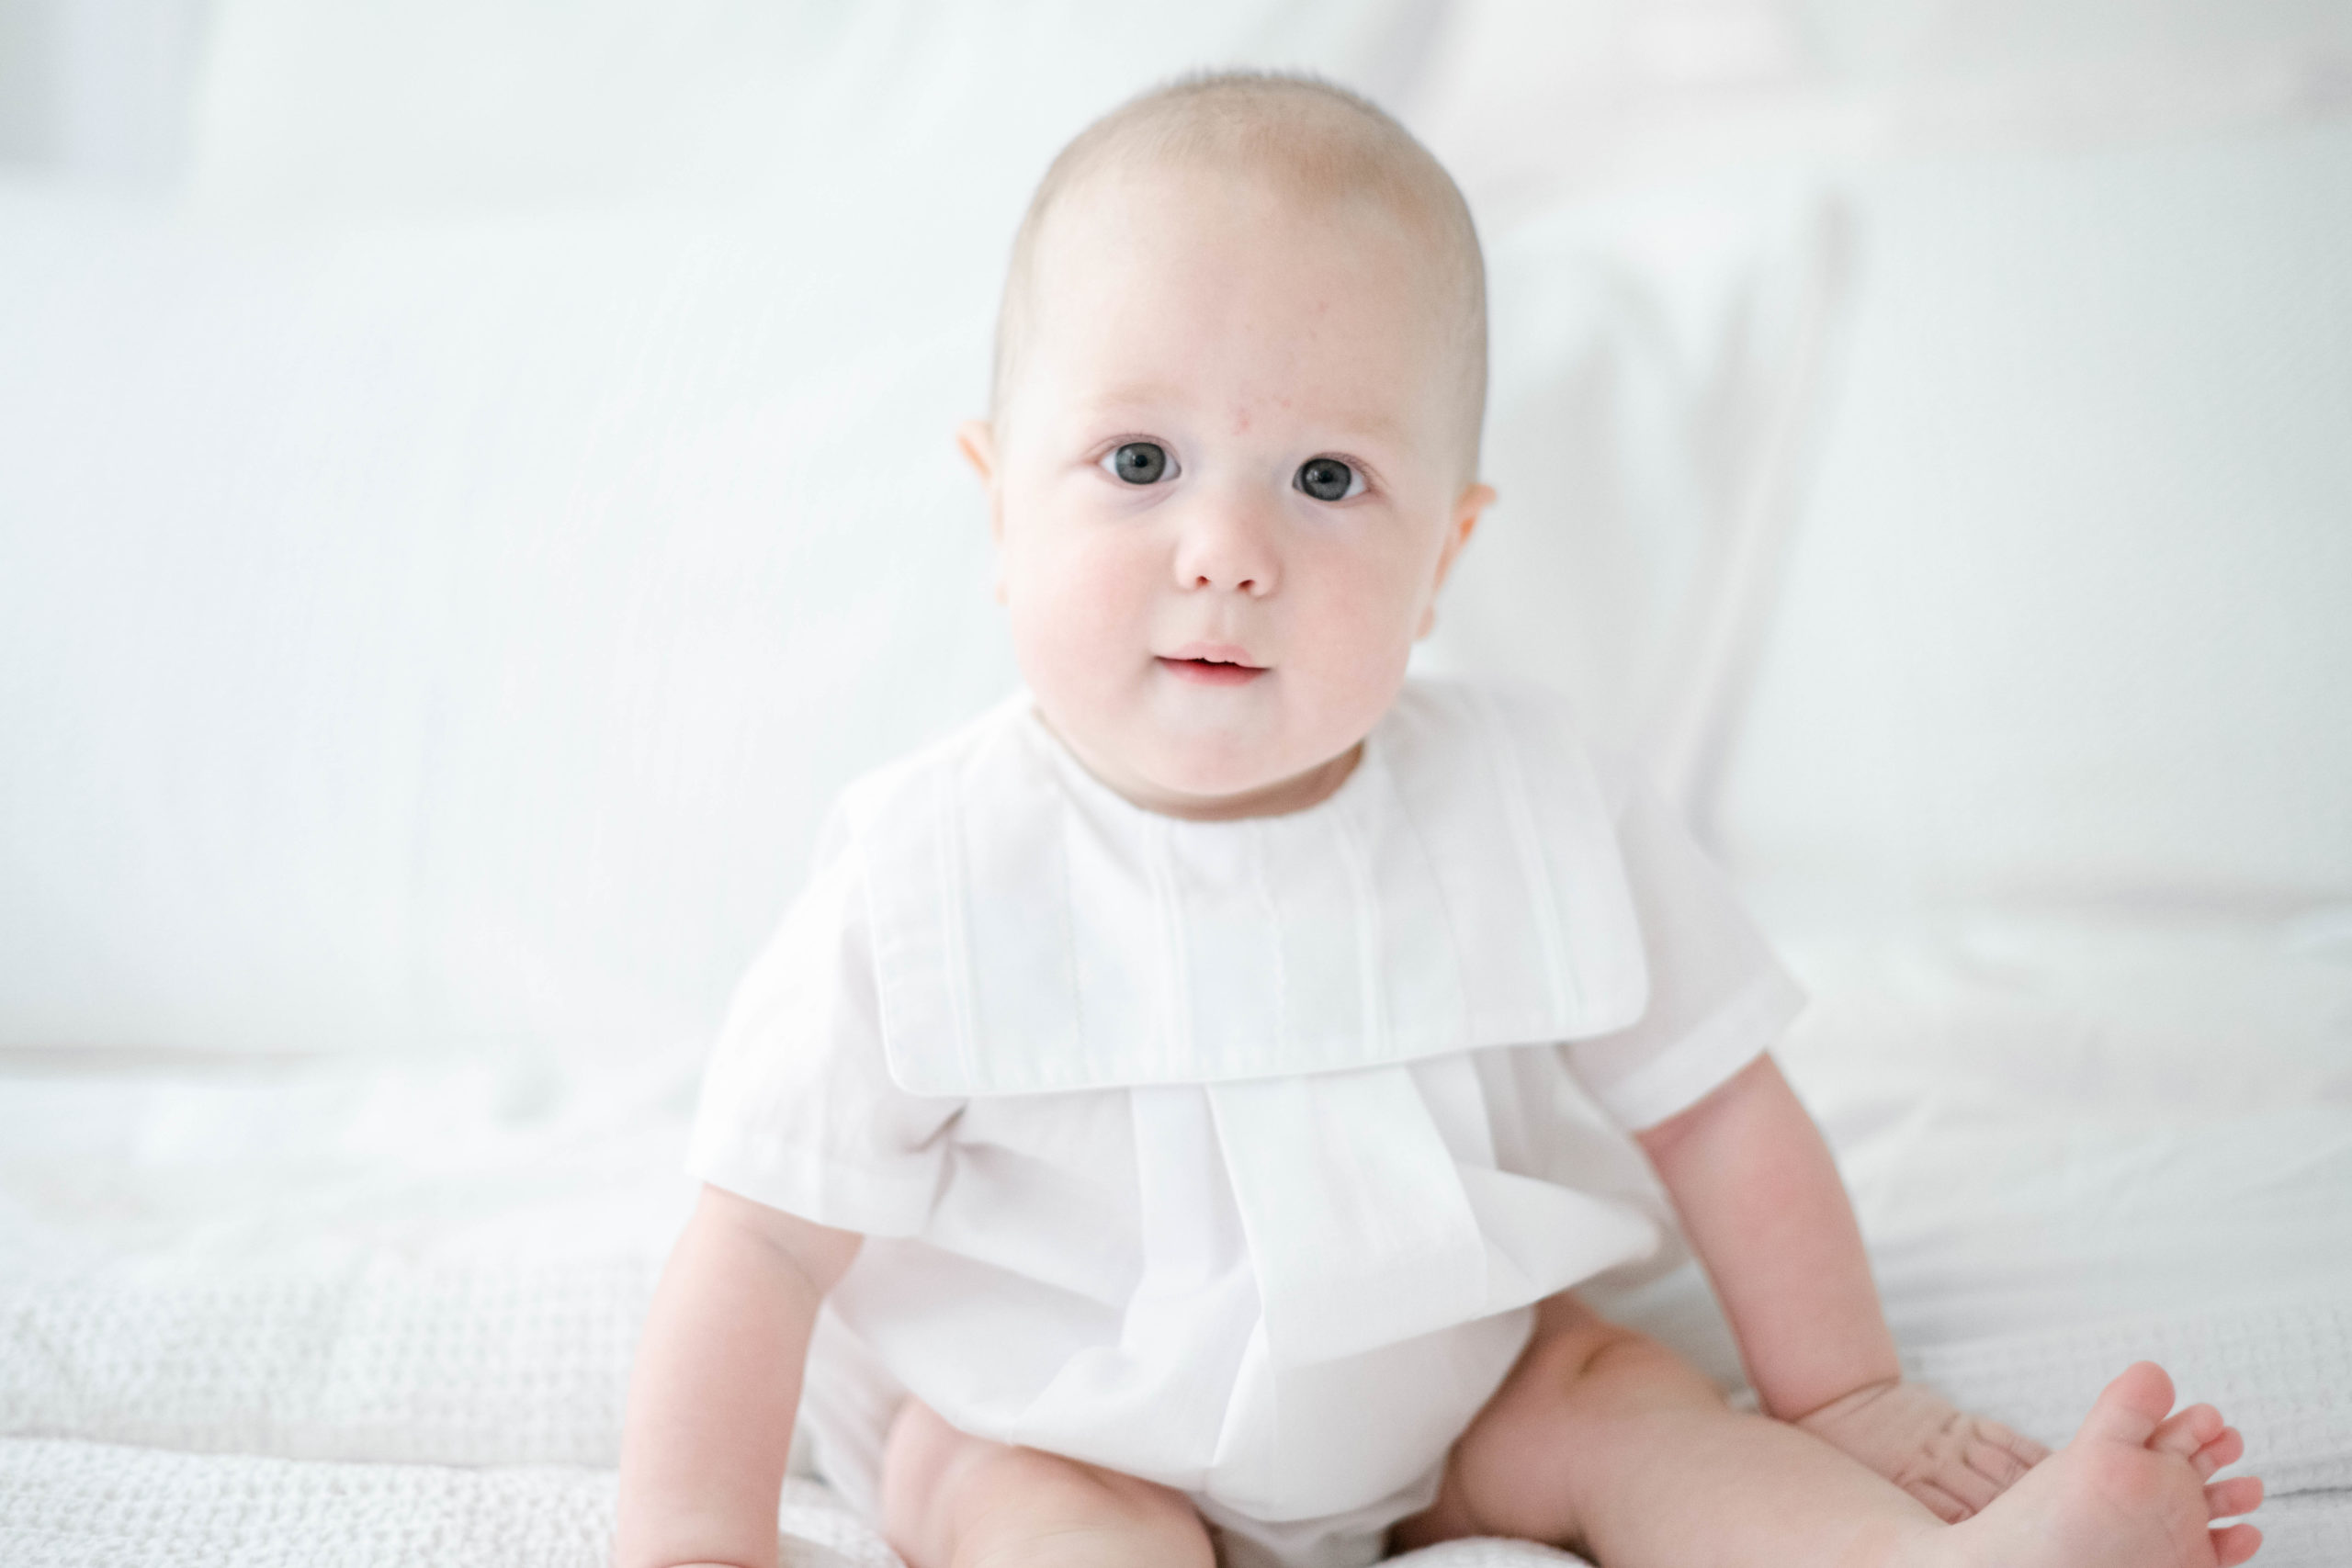
Lastly, angle the subject so that the light is hitting them at a 90 degree angle. Let’s talk about this for a second because THIS right here is what transformed my images above. I had tips one and two down pat, but this one was new for me. In the first image, I had him facing the windows. This is why he looks so “flat”. There are no shadows anywhere giving it no dimension at all. In the second image, I took the advice given to me and I turned him at an angle where the light was hitting one side of his face. Here you can see shadows, depth, and dimension! This little tip right here can change your images instantly! I know because I have experienced it!
There is something so beautiful and authentic about natural light. Don’t be afraid to try shooting natural light indoors! Like any skill in photography, it takes practice. I believe if you apply these tips you will see results quickly! Want more tips and tricks? Join my FREE Facebook Group and check out my other photography blogs here!

